
User Guide
Login
There is no public section in the ZiSoft Security Awareness Application. Any user wishing to perform any kind of operation on the system will have to login first.
The system comes with two predefined users
Administrator whose username is “admin” and default password is “Admin123@”
Normal User whose username is “user” and password is “User123@”
It is extremely important to change the password of your admin user once you have installed the application. To do so...
login with the default admin username and password,
then go to the “Administrator” drop down on the top bar
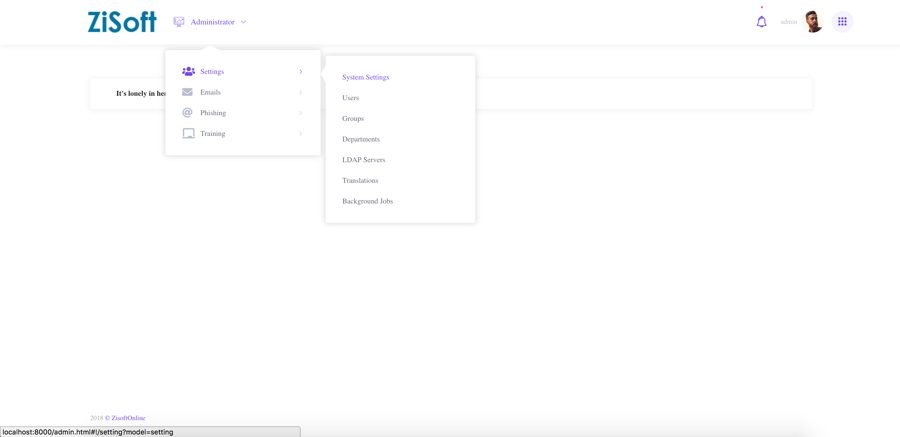
navigate to “settings” => users
find the admin user, then click on “Password”
enter the password twice and click "Save".
if successful, you will see a confirmation message
Initial Configuration
The first thing you need to do after installing the system is to head to the “settings” area and add your organization information. This is a system-wide information that will be used throughout the application.
To change your settings...
navigate to "Administration" => "Settings"
click on “Edit” then set your application URL and Company name. Make sure to include the protocol and the fully qualified domain name in the Host field. This has to be the same URL from which you are serving your awareness application. For example: Host Name should be https://big-company.com/awareness. Example of company name is ”Big Company”.
click save and wait for the confirmation message
Manually Adding Users
Zisoft allows you to add users either manually or by importing them from a CSV file or by integration with LDAP. To add users manually,
navigate to the "Administrator" => "Settings" => "Users" page
Click on "+ User"
Enter the user details and click "Save"
Note that you need to choose the types of newly added user. Users can be of one of the following types
Administrator: This is a user with full access to the system. This user can create and manage campaigns and other users, send emails, view reports and so on.
Moderator: This is a user with the same authorities as Administrator, However, this user can't see the campaigns created by any Administrator or any other Moderator. Moderators also don't have access to some system settings like LDAP servers or Email server.
User: This is the normal user who can only view lessons and complete exams*
Resetting a Password for Another User
As an Administrator, you can reset the password of any other non-admin user. To do so...
navigate to the users page
click on "password" next to the respective user
set the password twice, then click save
Email Server Settings
An email server is used when ever you are sending emails from the Awareness system. You can configure one server for every kind of emails or a separate server for each kind.
The "Awareness" system sends the following kinds of Emails
Training: This is an email you send in the context of a specific training campaign. For example, an email saying "Dear user, you have been invited to a campaign 'Q1'", and so on. More on this later in this guide
Phishing: This is an email you send to your users to verify their vulnerability to phishing emails, something like an attack simulator. More on this later in this guide.
Tips: This is an email you send to your users to advise them on best security practices and behaviors. For example "Make sure to remember to lock your PC before you leave the office". You can send tips everyday, every week, every month, or so on.
General: Any other email you send that is not of the above types is called "general"
To configure a server...
navigate to "Administrator" => "Emails" => "Email Servers"
click on "+ Email Server"
add all server information like host, port, and authentication methods
click "Save"
Note that, like any other password in "Awareness", there is a separate action for setting this password. To set email password ...
click on "Password" next tot the respective email server
enter the password twice
click "Save"
Importing Users from LDAP
Awareness can import your LDAP users automatically, but you will need to configure an LDAP server first. To do so...
Navigate to "Administrator" => "Settings" => "LDAP Servers"
Click on "+ LDAP Server"
Enter all the server information
Click "Save"
To set the password of the LDAP server, there is a separate action for it
Click on "Password" of the respective server
Enter the password
Click save
Once a server is configured, you will need to click on "Import" to pull all the users from the LDAP server and create respective users for them in the system
Note: Clicking on "Import" does not import users immediately. This action spawns a background process called "Job" that will do the actual importing. You will see that the number of users on the system starts to increase gradually until all users are imported. You can check background job status in the "Administrator" => "Settings" => "Background Jobs" page
Also note that any user imported will LDAP will automatically by assigned role "User" not "Administrator". An existing administrator will need to change a specific user role to "Administrator" if they wish to give them that privilege.
Training Campaign
A campaign is like a course or a semester. You start a campaign when you have some lessons that you need to distribute to your users. The campaign holds information about the lessons, the users, start date, end date, exams, and so on.
To create a campaign...
Navigate to "Administrator" => "Training" => "Training Campaigns".
Click "+ Campaign"
Enter the campaign information
Click Save
Note that the choice of having an exam in the campaign is final and can not be changed once the campaign has been created. This is because changing the exam will result in wrong values in the reports because some of your users might have already submitted the old exams that you have changed. More on exams later
Now, you need to add lessons to the campaign
Click on "Lessons" next to the desired campaign
From the menu, select all applicable Lessons
Click Save
Once the campaign has lessons, it is time to add users to it.
Click on "Users" next to the desired Campaign
Select all applicable users
Click "Save"
Your campaign is now ready. Any user who signs into the "Awareness" system will be able to see that they are required to complete those lessons (and possibly an exam if you configured one) in order to pass the campaign.
Exams
An exam is a collection of questions from different lessons. You can have an exam with one question from every lesson or an exam with two questions from a each lesson related to passwords or any combination of questions you like. The questions in the exam has no direct relation with the lessons of the training campaigns. This means that it is up to you to make sure your exam does not include questions that has not been covered in the campaign.
Exams can also be used without any training lessons. For example, you may wish to start a training campaign with only an exam and no lessons at the beginning of your awareness initiative to measure your employees' security awareness and tailor the upcoming training campaigns accordingly.
To create a new exam and use it in a campaign...
Navigate to "Administrator" => "Training" => "Exams"
Click on "+ Exam"
Enter the name of your Exam
Click "Save"
Now that you created the empty exam, you should be able to add lessons to it.
Next to the exam that you just created, click on "Lessons"
Click on "+ Lesson" in the sub area
Choose the lessons that you want to add to the Exam
Click "Save"
With the Exam ready, you can now navigate to "Training Campaigns" and chose this exam when creating a new campaign.
Note: Exams are final; you can add an exam to a new campaign, but you can not change it or remove it from a campaign once it is added.
Custom Lessons, Quizzes and Exams
ZiSoft Awareness comes with a rich set of predefined questions and answers, but sometimes you might want to create your own questions. Not only that, you can even define a new lesosn altogether, for your compliance training for example. To create your own questions in an existing lesson...
Navigate to "Administrator" => "Training" => "Lesson"
Open the desired lesson, then click on "Questions"
Click no "+ Add Question"
Add your question
Click on save
Then click on "Answers" on the newly created question
Add the desired list of answers, specifiying if it is correct or not for each answer.
To create your own lesson first, click on "+ Lesson" first, name the lesson, then follow the same steps above.
Sending Emails to Campaign Users
Normally, you would need to send a notification email to all users in a given campaign to tell them that they have been enrolled in the campaign and need to start completing the lessons. To do so, we will use the "Email Engine".
"Awareness" system sends a variety of emails. Sending emails is done also in campaigns. An email campaign is different from a training campaign, but serves the same purpose. It gathers the information needed to send an email to a target set of users.
Navigate to "Administrator" => "Email" => "Email Campaign"
Click on "+ Email Campaign", enter a name for the email campaign, then click "Save"
Click on "Send" next to the campaign that you just created
From the "context" menu, select "Training"
Find the training campaign that you need to send emails for and click next
Choose the email server and email template that you need to use
You will see a list of "place holders" that appear below the template name. You can use them to override any placeholder manually. Usually, you will need to leave them alone.
Click "Send"
Note: like importing users from LDAP, sending emails is a lengthy operation. Imagine sending to ten thousand users. For this reason, clicking on "Send" does not actually send the emails. Instead, it creates a background process (called Job) that does the actual sending. You can check background job status in the "Administrator" => "Settings" => "Job" page
"Awareness" comes bundled with a set of email templates that you can use, or you can build your own template adding your own logo and signatures and so on. See "Adding Email Templates"
Including Files in Emails
Admins can add links in the email templates. Links can point to files in an external storage on the internet, an internal storage in your origanization, or inside the awareness system server itself. See "Adding Email Templates" below.
NOTE: ZiSoft does not currently support attaching files inside the emails themselves. All files, images, logos, etc., must be included via links.
Attending Lessons
Once you received the campaign notification email, you should be able to view the lessons in this campaign by visiting the home page of the Awareness System e.g https://awareness.my-company.com/ (or https://yourcompany.zisoftonline.com if you have a cloud deployment). The home page will list all campaigns that you are added to in chronological order.
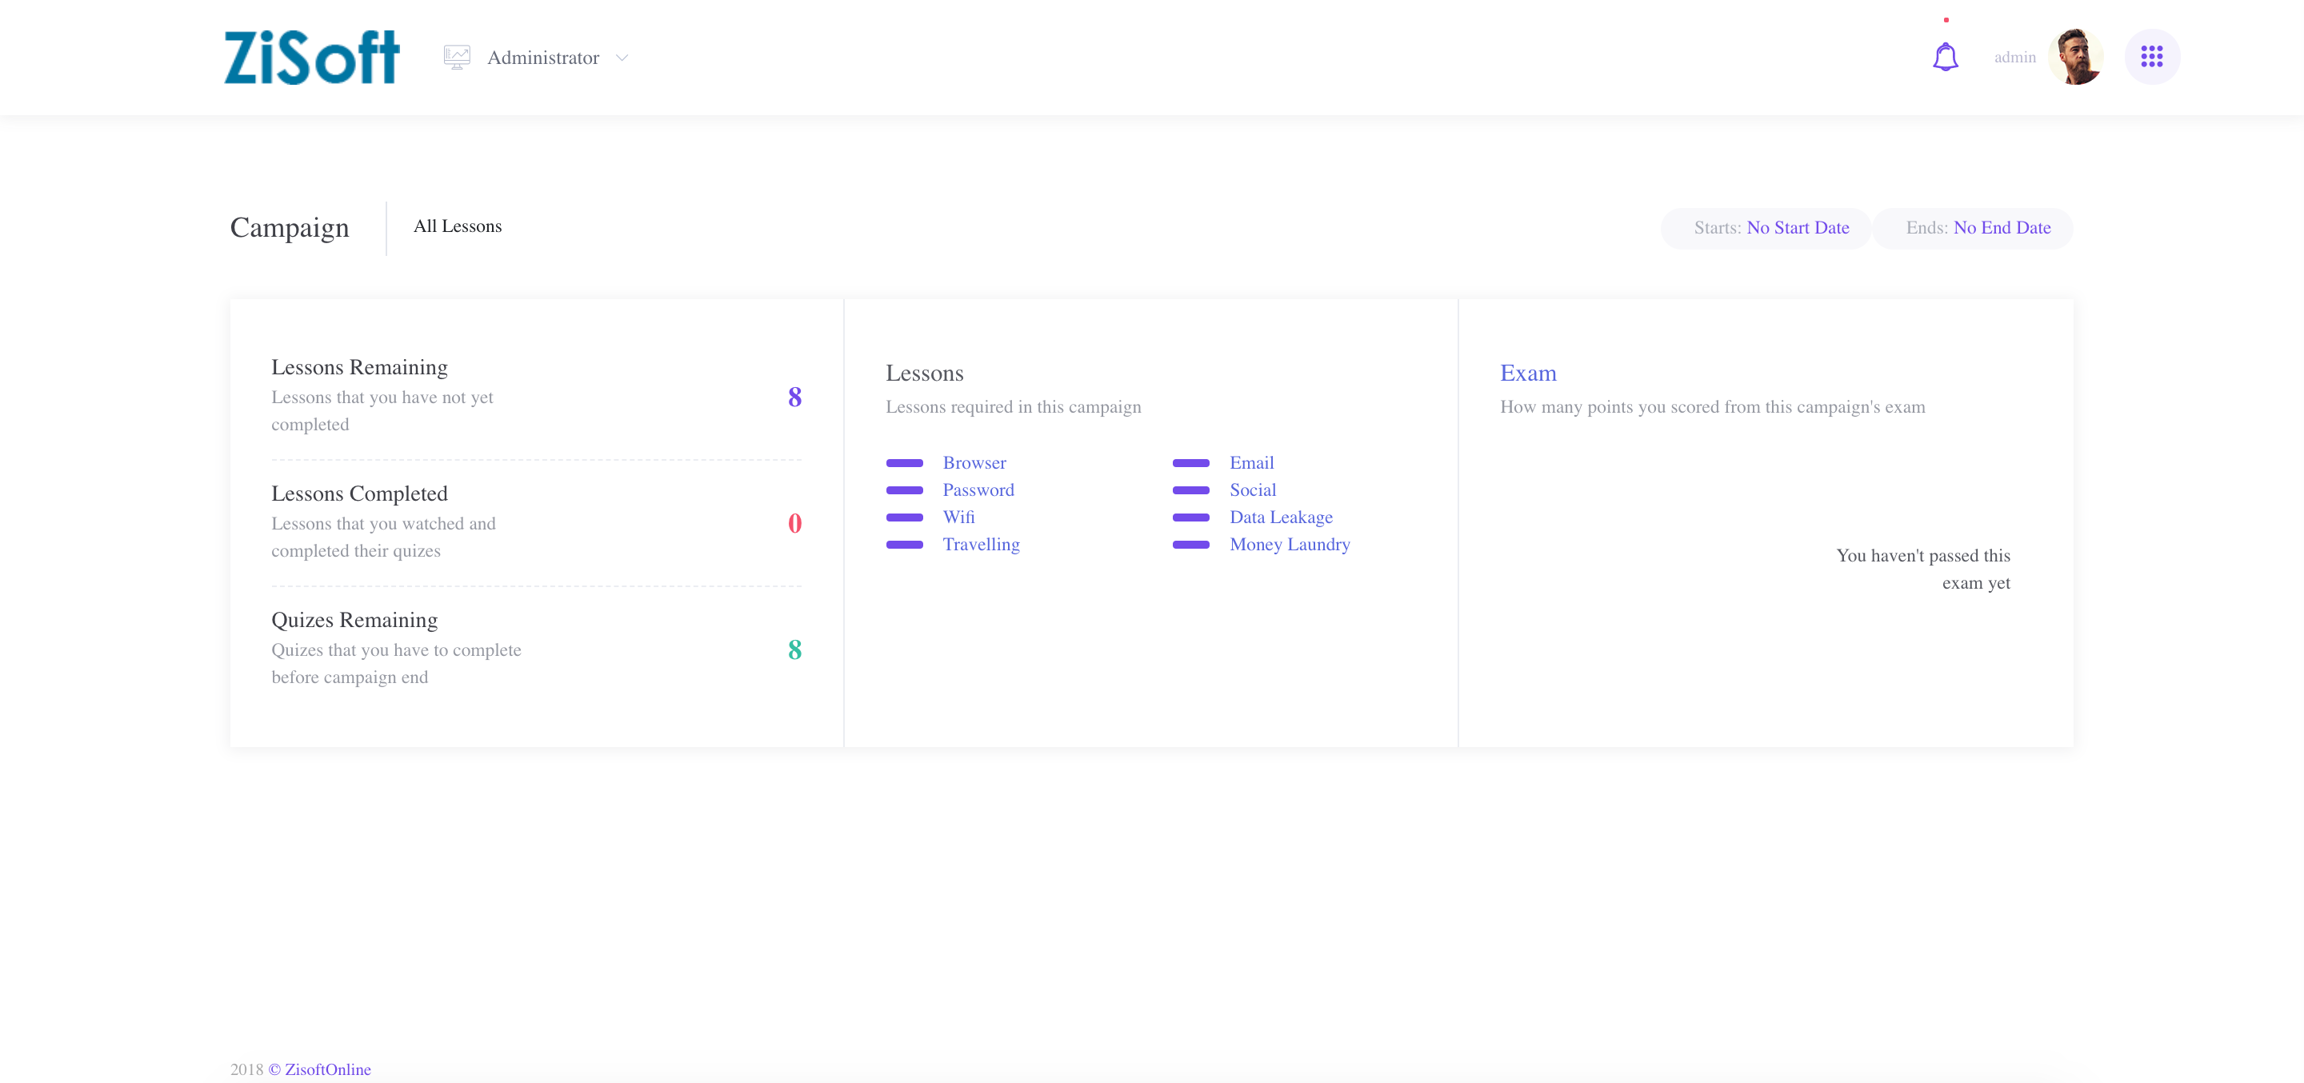
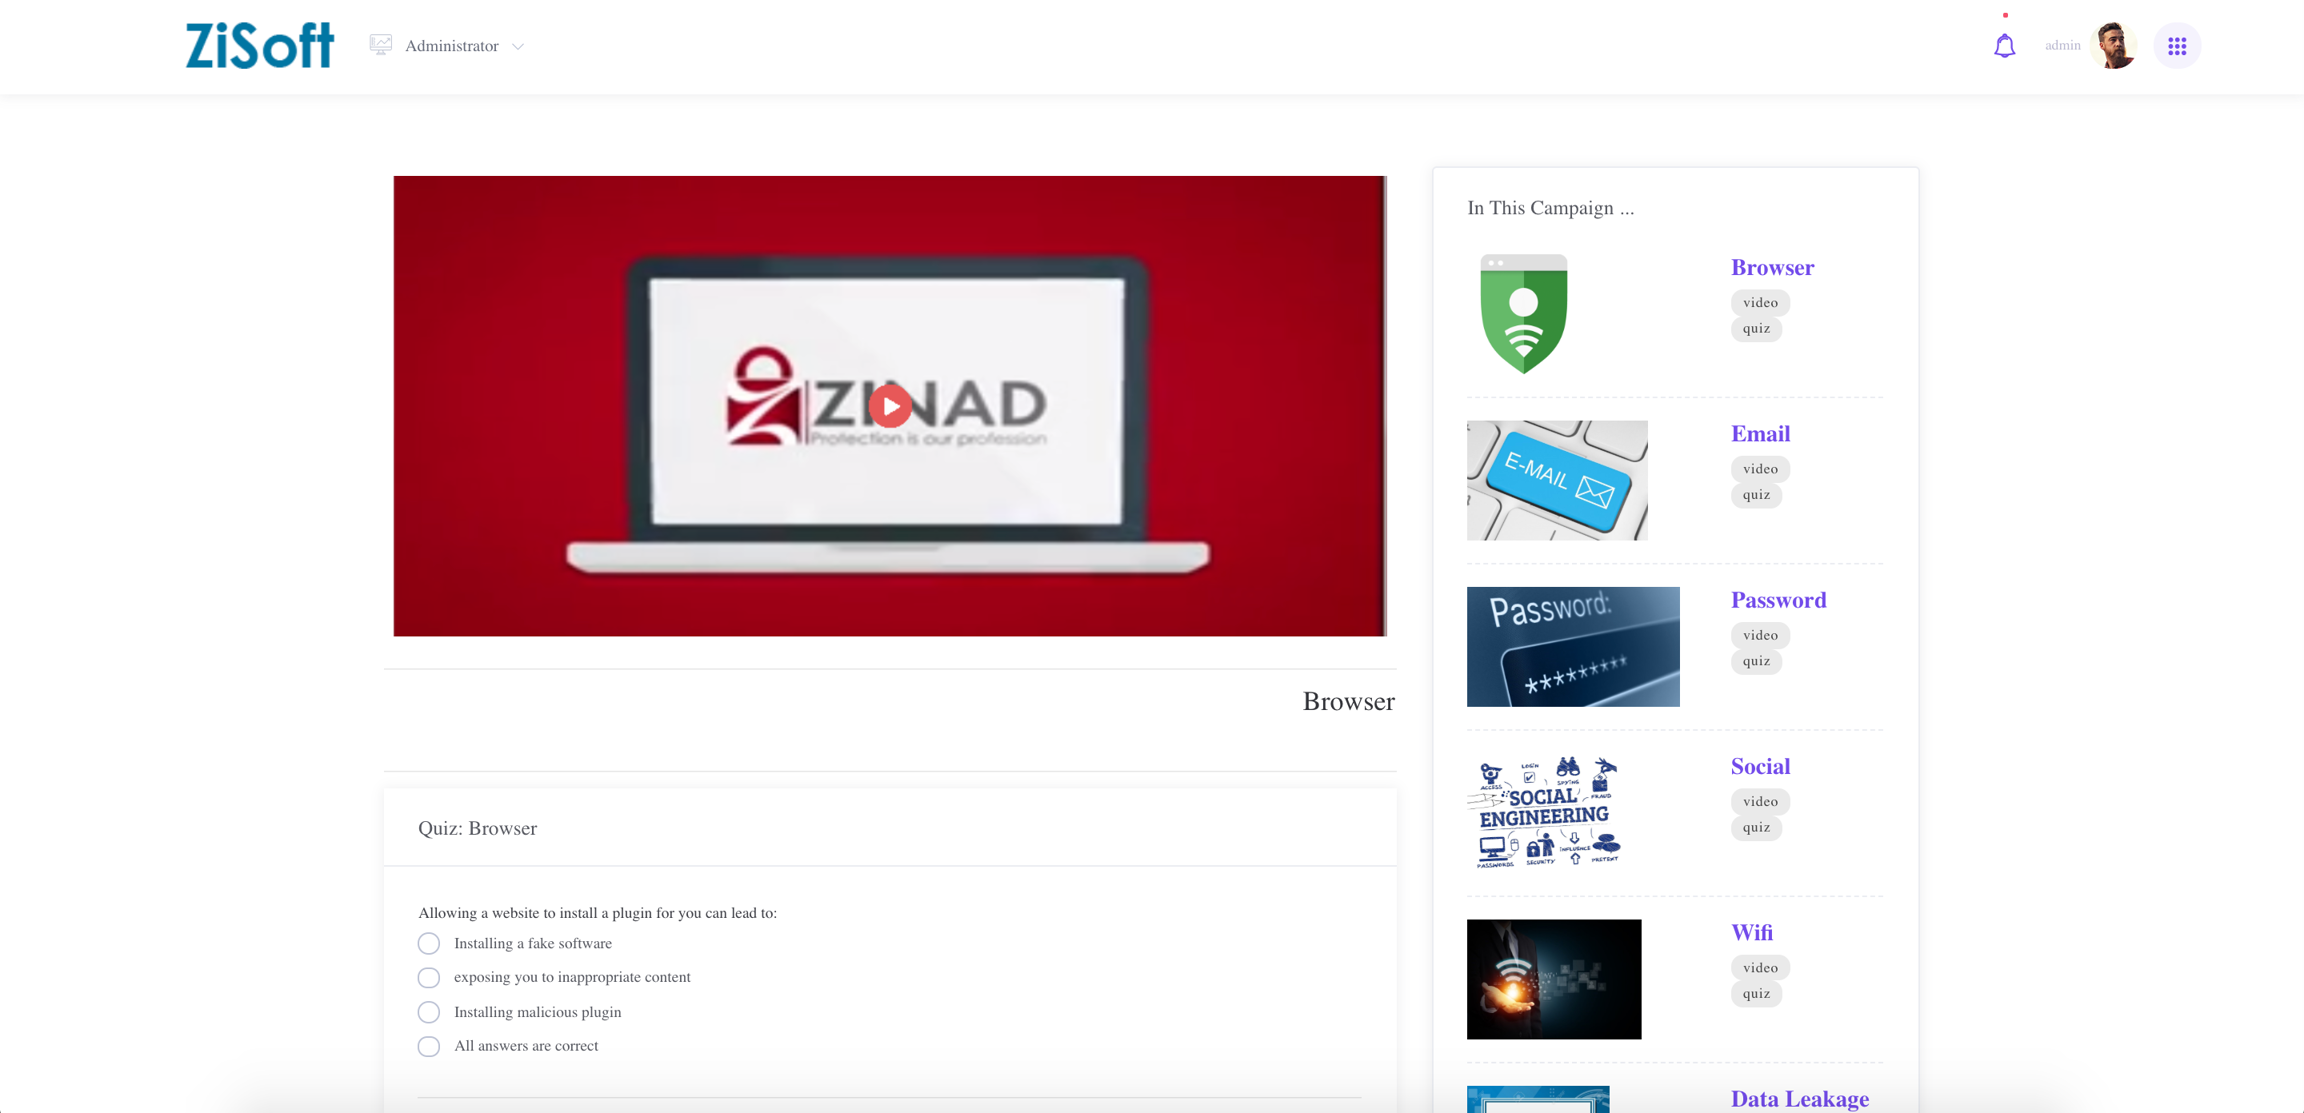
Each campaign listing will show how many lessons you have completed and how many lessons you have remaining to be completed. If the admin has added an exam, you will see the status of the exam and your score if you have passed. Click on each lesson to go to the classroom page to attend the lesson and complete its quiz.
If you are a non admin user, this is the only thing you will need to do on the awareness system.
Adding Email Templates
Navigate to "Administrator" => "Email" => "Templates"
Click on "+ Email Template"
Enter the template name, content, and so on
Choose the context in which this template will be used
Click Save
Emails are sent in contexts. For example, "Training", "Phishing", "News", etc. Choosing the right context allows the email engine to process template place holders correctly.
Template Placeholders
Embedded inside template content, you can find texts similar to {first_name}, {last_name}, {campaign_name}, etc. These are called "place holders". Placeholders are special texts that get replaced by the email engine at the time of sending the email.
For example, if you have a template that reads...
the end user will receive an email that reads...
The list of available email template place holders is
{first_name}: First name of the receiver
{last_name}: Last name of the receiver
{username}: Username of the receiver
{link}: The special tracking number used in phishing Emails
{company_name}: The name of the company configured in the settings section
{email}: Email address of the receiver
{host}: The host address configured in the settings section
{phishpot_title}: The name of a phishpot campaign
{campaign_title}: The name of a training campaign
More tags will be added in upcoming releases
Phishing
Conducting a phishing campaign requires coordination between several parts of the application
First, you need to create a container that serves as a record of this campaign. This is called the "Phishpot" or the "Phishing Campaign". Each phishing campaign designates one "Phishing Page". The phishing page is a web page that will be the target of the emails sent to the users. In other words, when your users click on the phishing email, this is the page they will be taken to. The Awareness system comes pre packaged with a set of phishing pages to use, and you can define and use your own if you want.
Second, you need to send the email. A phishing email is just a regular email sent like any other email, but with one small difference: it contains a special tracking code similar to "http://coolwebsite.com?link=hdhfey37ehfbf". This link is specific to each user and helps the system track which of the users have fallen victim for this phishing campaign and which haven't. The Awareness system also comes packed with phishing emails that you can use out of the box, and you can define your own if you want.
The following section describe how to configure campaigns, emails and pages.
Phishing Campaign
To create a new phishing campaign ...
Navigate to "Administrator" => Phishing => Phishing campaigns
Click on "+ Phishing Campaign"
Enter the name of the campaign
Choose the phishing page
Click save
Now that the campaign is created, you need to add users to it
Click on "Users" next to the campaign you want
A sub area will open. Click on "+ Add User"
Select the users you want to add to the campaign
Click save
Phishing Email Templates
The Awareness system comes pre-packaged with phishing email templates. You can use those templates out of the box. If you you need to define your own, you need to create your own phishing email template. To add a phishing email template is similar to adding any email template but you choose the type of the email to be "Phishing". Within the email body, you need to insert a link that directs to "{host}/execute/page/{link}". Before sending the email, the engine will replace the two special tags {host} and {link} with the host you entered in your settings and the special link that is specific to each user as described in "Phishing" section above
Phishing Pages
The system comes pre-packaged with phishing pages. To add a phishing page of your own ...
Navigate to "Administration" => "Phishing" => "Phishing Pages"
Click on "+ Phishing Page"
Enter the name of the page and the content
Click save
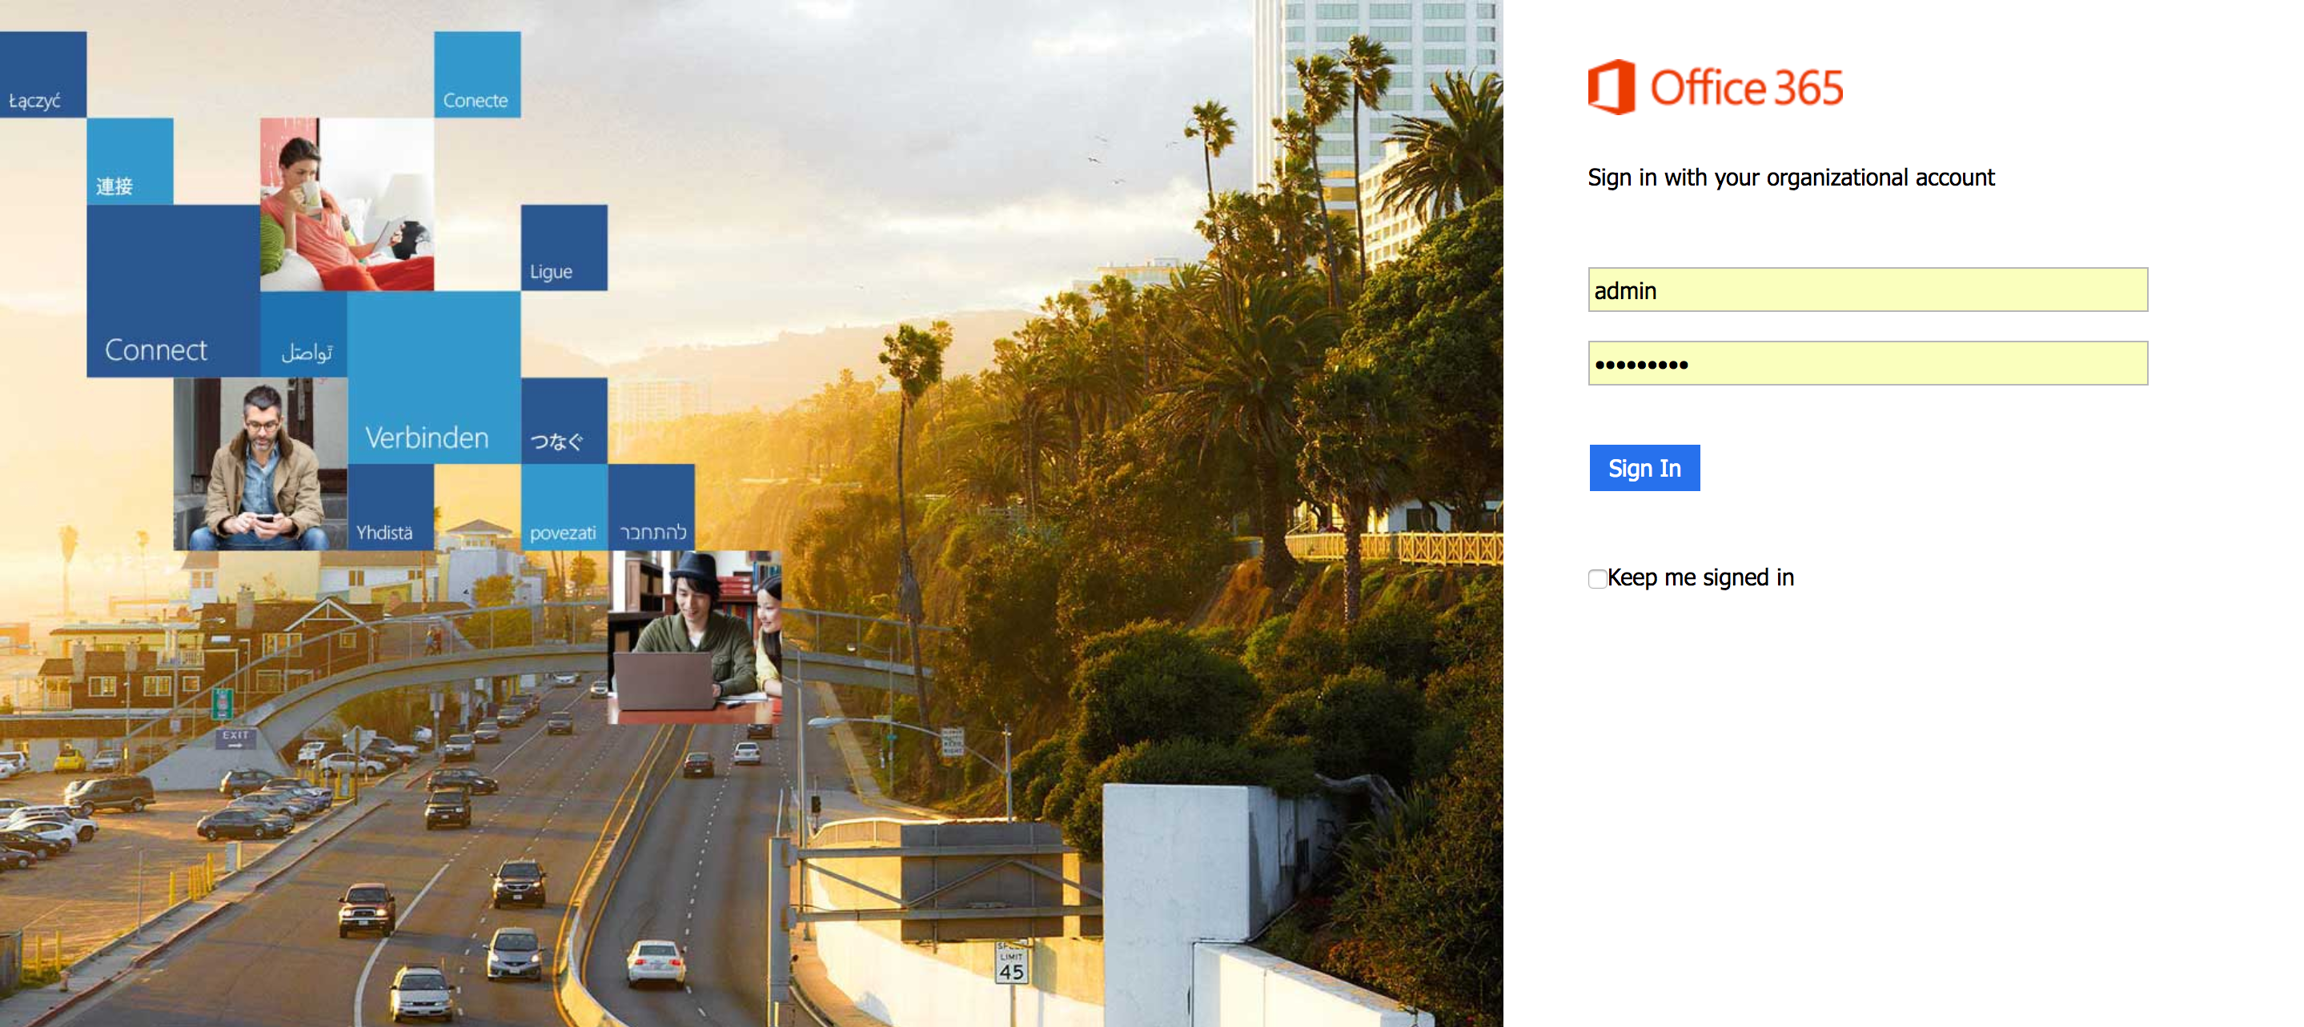
Example "Out of The Box" Phishing Pages
LinkedIn Phishing Page
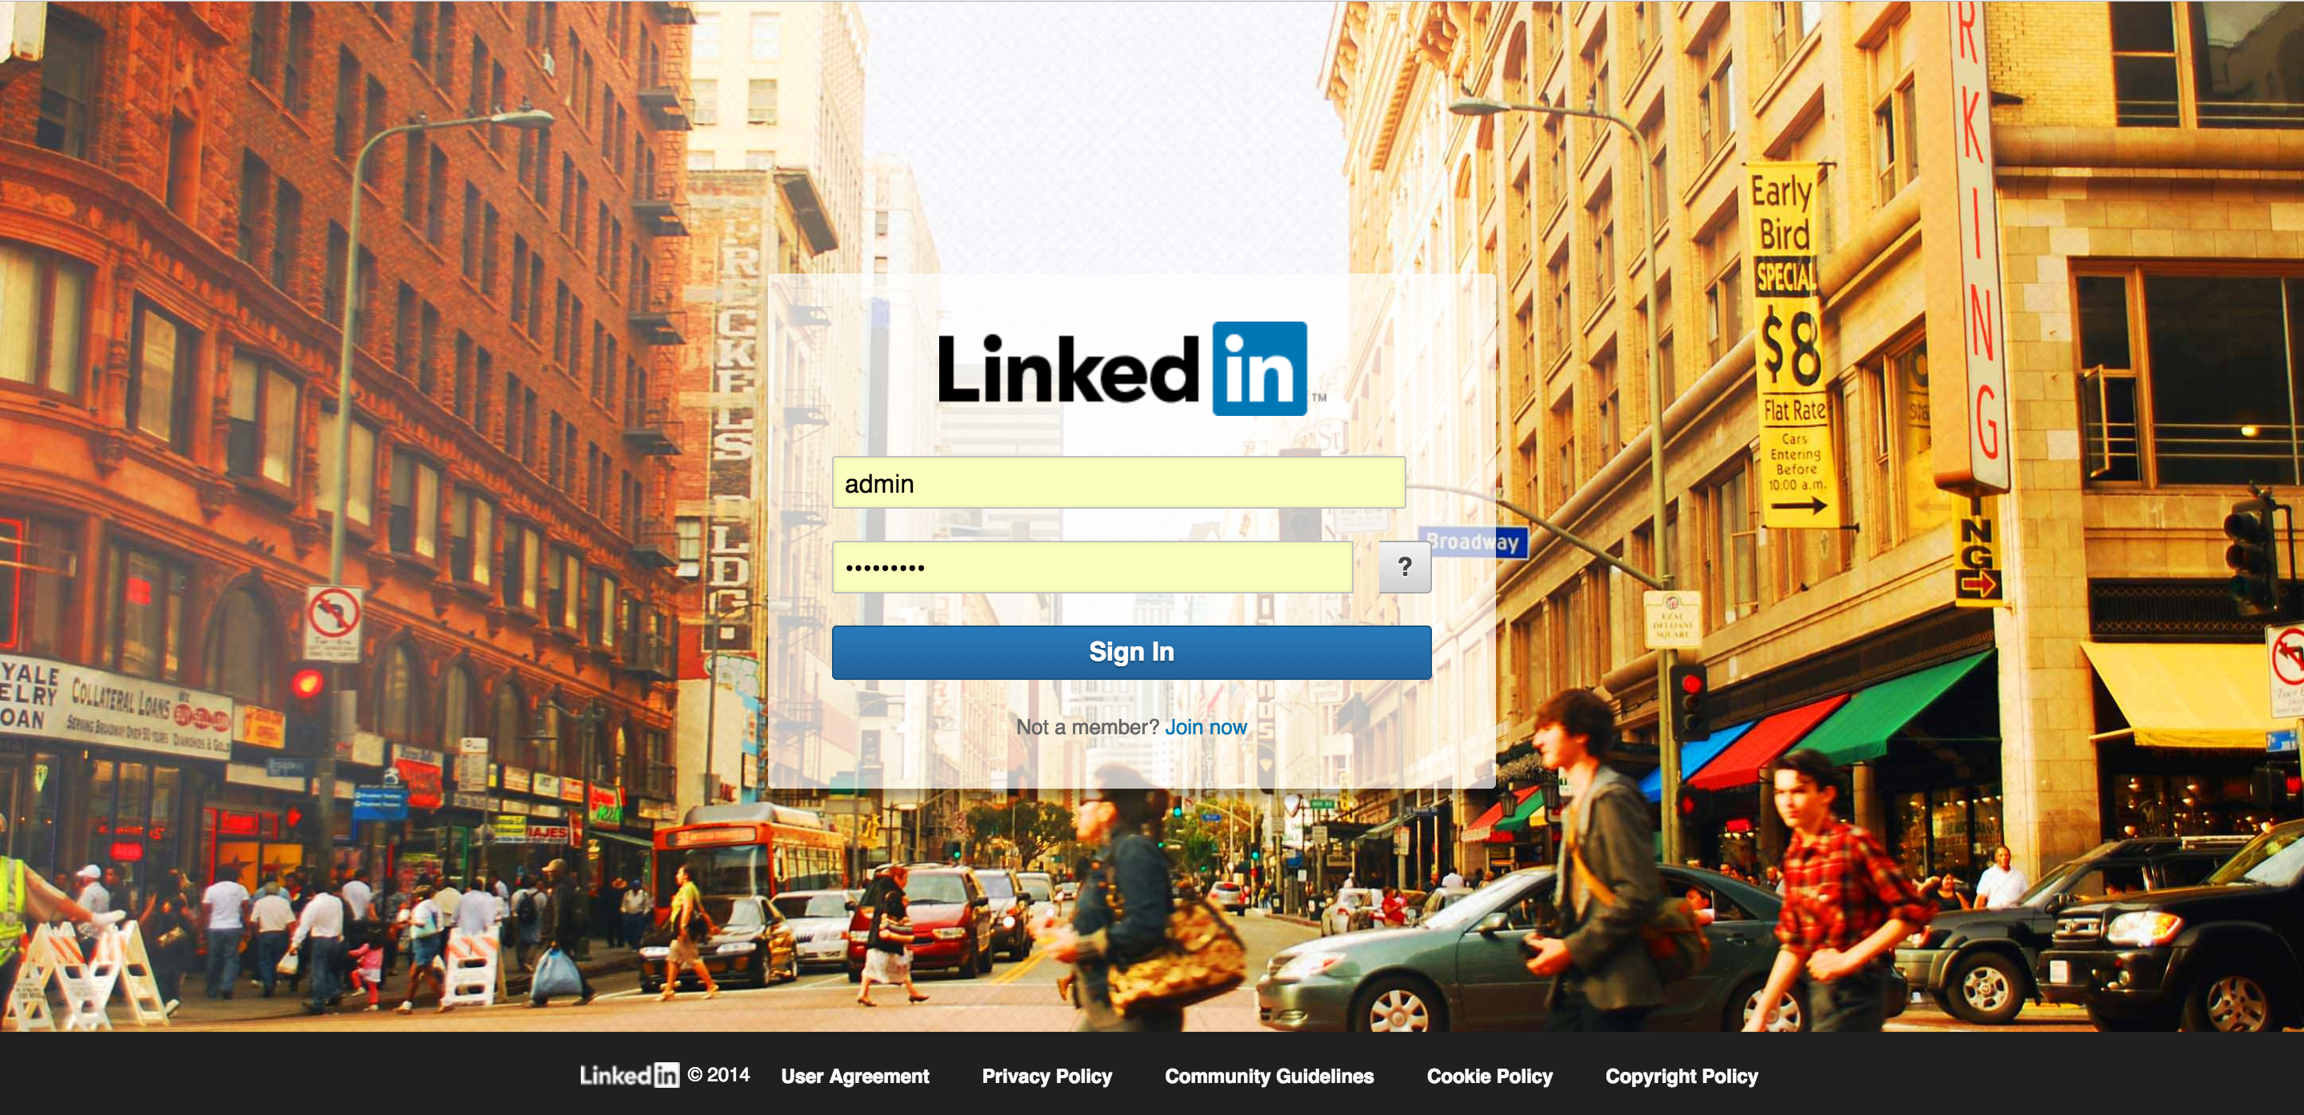
Office 365 Phishing Page
Sending Phishing Emails
To send phishing emails, you need to setup some pre-requisites, namely "Email Server" and DNS Name.
Email Server: You need to setup an email server with an email account that will be used to send the phishing emails. The name of this account should be related to the phishing campaign. For example, if your company is called "Company-Inc" and you are using the "Linked In" phishing campaign, then your should create a user called "linkedin@company-inc.com".
DNS Name: When your users click on the phishing emails in the links, they will be redirected to a phishing page. If this page's name is called "awareness.company-inc.com", the users might be aware they are being tested. Instead, the page should be named something like "linkedin.company-inc.com"
In the Cloud deployment, ZiSoft can provide an account like "linkedin@zisoftonline.com" and can provide a DNS like "linkedin.zisoftonline.com". If you need more control, you will need to setup your own domain name and email server.
When you have the above pre-requisites, you can use the Email Campaign tool as described above.
Reporting
ZiSoft Awareness uses a very powerful reporting engine called MetaBase. MetaBase allows you to run very specific and customized queries against your ZiSoft Awareness instance. For example, you can create a question asking "What is the percentage of people who passed campaign 'Q1'" or "What is the progress in the percentage of success between last campaign and this campaign". After asking your question, you can organize those questions in "Dashboards". This dashboard is "Live" meaning that it will find the most recent information in the database and present it to you whenever you refresh the page. This dashboard can be saved and loaded anytime.
ZiSoft Awareness comes with example dashboards that contain some example questions about training campaigns and phishing campaigns. You can customize it or you can copy paste from it to build your own campaign. If you would like help with that, talk to support@zisoftonline.com.
Viewing Dashboards
To view the dashboards...
click on your user-name on the top-right corner of the screen
click on Admin Dashboards
Choose the dashboard from the drop down
Add the appropriate parameters to the selected dashboard (e.g. the campaign id or the phishpot id)
Editing or Adding Dashboards
Dashboards are edited in the MetaBase interface. To login in to MetaBase, click on "Analytics" in the Administrator drop down menu
The username/password of the MetaBase administrator is different from the ZiSoft Awareness administrator. Use admin@example.com and Admin123@ to login. You can change them once you are inside MetaBase UI.
Last updated